Before you can migrate from a Nortek HUSBZB-1 adapter to Home Assistant Connect ZWA-2, you need to upgrade the device firmware. SDK 6.82.1 has been reported to work for this. However, there is no (easy) way to update that device.
-
Most likely, you need to set up a new network.
-
If you are comfortable with soldering and have time and patience: some users have reported that they were able to upgrade the firmware of the Nortek HUSBZB-1 with this procedure.
-
Once you have upgraded the Nortek HUSBZB-1 adapter, follow the steps below to migrate the network.
Prerequisites
- Have the Nortek HUSBZB-1 upgraded to firmware version to SDK 6.82.1.
- Home Assistant smart home hub with a USB 2.0 port, for example, a Home Assistant Green.
- Have a Z-Wave network running on Home Assistant.
- Home Assistant Operating System with Home Assistant 2025.8 or newer installed on your smart home hub.
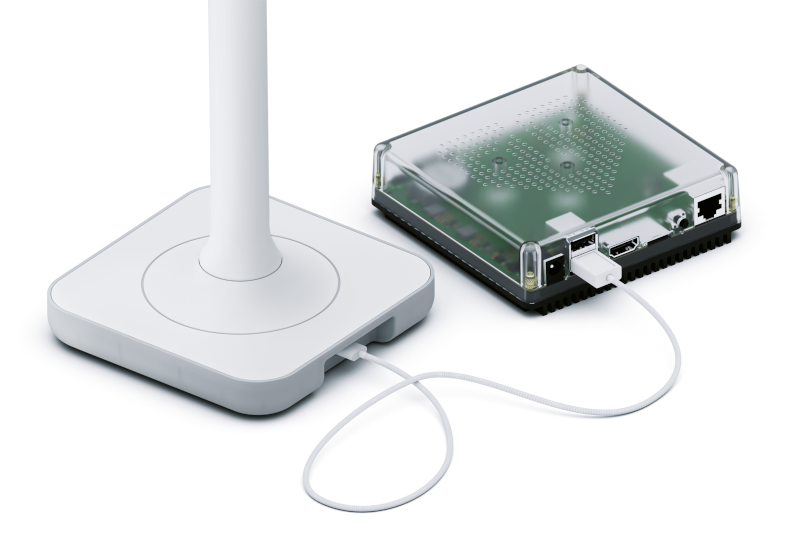
- Home Assistant Connect ZWA-2 with a USB-C to USB-A cable (included in the box).
To migrate your existing Z-Wave network to Home Assistant Connect ZWA-2
Step 1
Find a good location.
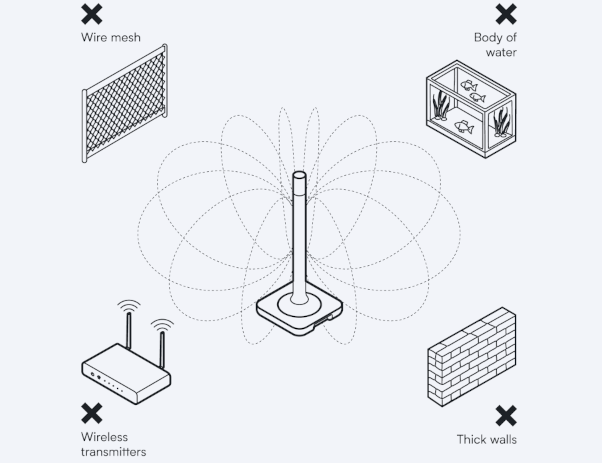
- Place the device away from objects that may cause interference or block signals, such as:
- thick walls
- wire mesh
- metal (such as server rack housings or wall mounting brackets)
- other transmitters (such as computers, routers, USB 3.0 ports)
- an aquarium.
Step 2
Install the device
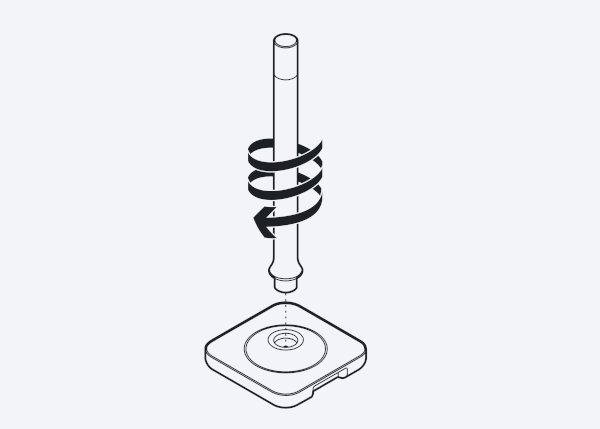
- Screw the antenna onto the base and make sure the device is placed in a vertical position.
- Notice: Be careful not to overtighten. It could damage the device beyond repair.
- Don't fix the device into place permanently yet.
- After you have connected the device to Home Assistant, you can check if your device is in a good spot or if there is interference. Depending on the result, you might want to move it to another location.
Scenario 1
You have the Z-Wave JS add-on
Scenario 1: You already have a Z-Wave network running with the Z-Wave JS add-on:
- Follow the steps in the Z-Wave integration documentation on migrating your Z-Wave network to Home Assistant Connect ZWA-2.
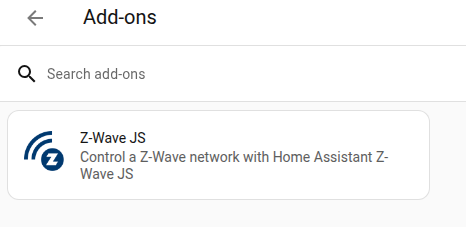
- Troubleshooting: If you don't know whether you use the Z-Wave JS add-on:
- Go to Settings > Add-ons and look for the Z-Wave JS add-on.
- In the top right corner, it will be a green "play" icon if you have it installed and running.
Scenario 2
You have the Z-Wave JS UI add-on
Scenario 2: You are using the Z-Wave JS UI add-on (and not the default Z-Wave JS add-on):
- Before starting migration, disable the Z-Wave JS integration:
- Go to Settings > Devices & services and select the Z-Wave integration.
- Select the three-dot menu and select Disable.
- Do the migration in Z-Wave JS UI.
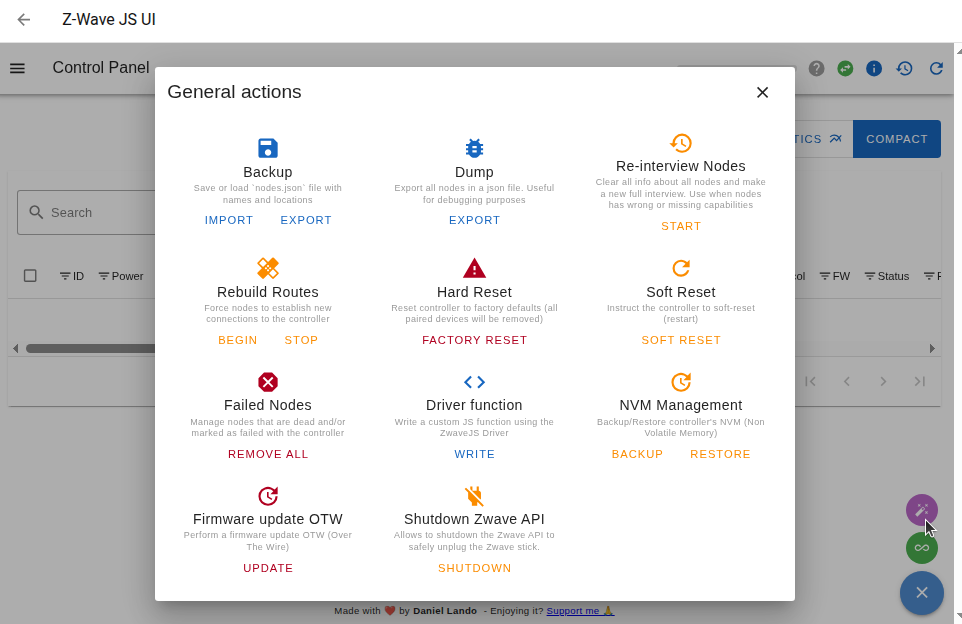
- Open the Z-Wave JS UI control panel and in the bottom-right corner, select the purple Advanced actions button.
- Under NVM Management, select Backup. Wait for the backup NVM file to finish downloading.
- Unplug the old Z-Wave adapter and connect Home Assistant Connect ZWA-2.
- Under Settings > Z-Wave, select the Serial Port for the Home Assistant Connect ZWA-2. Then, select the RF Region and save.
- By default, the region on Home Assistant Connect ZWA-2 is set to EU Long Range. The transmit power level is configured for Europe.
- If you are outside Europe, refer to the section about radio frequency region and transmit power levels to find the right region and transmit power settings.
- In the control panel, select the purple Advanced actions button and under NVM Management, select Restore.
- Rebuild the routes to make the best use of the extended range.
- Info: Rebuilding routes causes a lot of traffic and might take minutes to hours. It is performed in the background, so you can keep doing other things, but expect degraded performance while it is rebuilding.
- Open the Z-Wave JS UI control panel and in the bottom-right corner, select the purple Advanced actions button.
- Under Rebuild routes select Begin.
- Include sleeping nodes: It is recommended to select this option.
- However, it means you need to walk around and wake up all sleeping nodes (or wait for them to wake up on their own, which can take a long time).
- If you skip this, not all devices will immediately make use of the better range.
- Delete priority return routes: It is recommended to select this option.
- Priority return routes are routes from the end device to the controller that you assigned manually in the past.
- These routes may not be ideal anymore after the migration.
- Enable the Z-Wave integration again.
Step 4
Check for interference
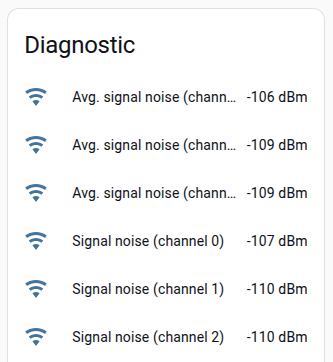
- You're all set, Home Assistant Connect ZWA-2 is connected to Home Assistant.
- To be sure your device is in a good location, follow the steps under checking the distance to other transmitters to avoid interference.